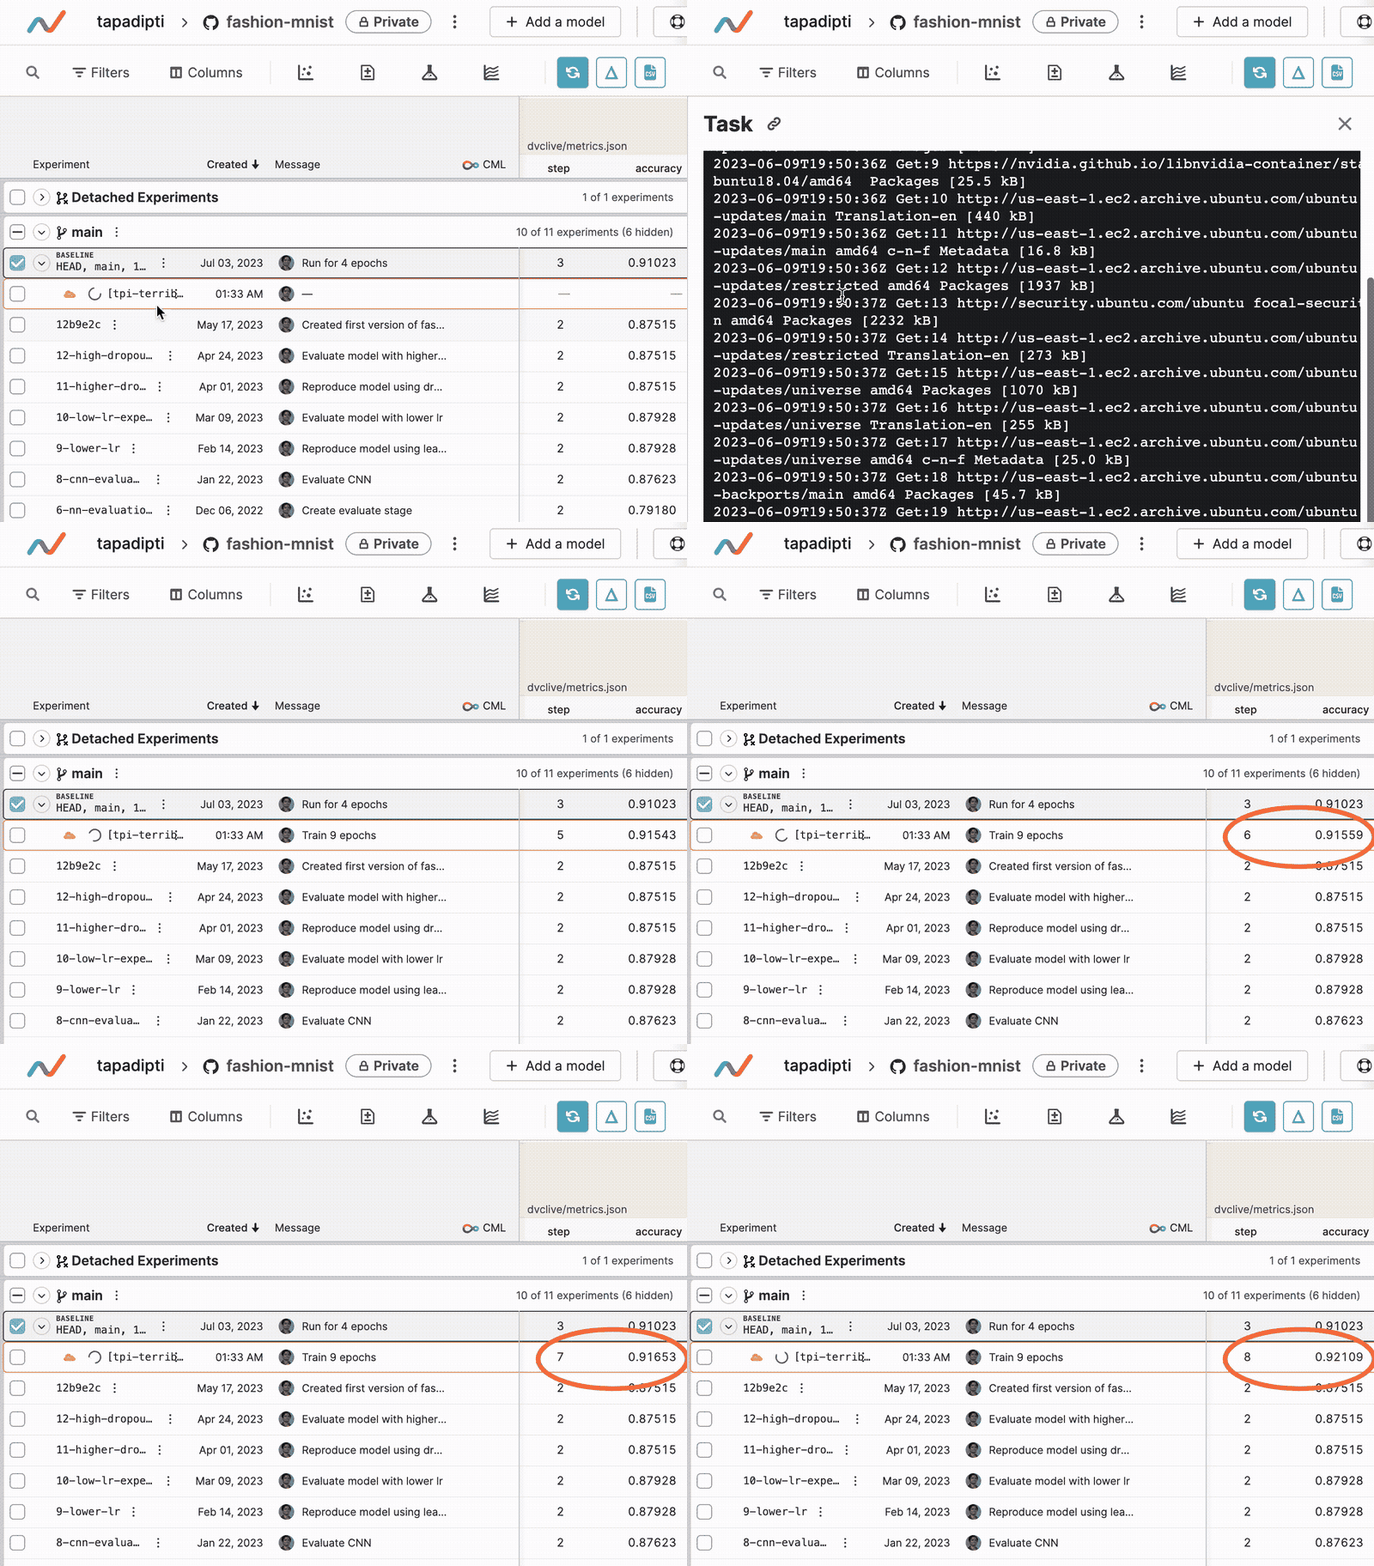
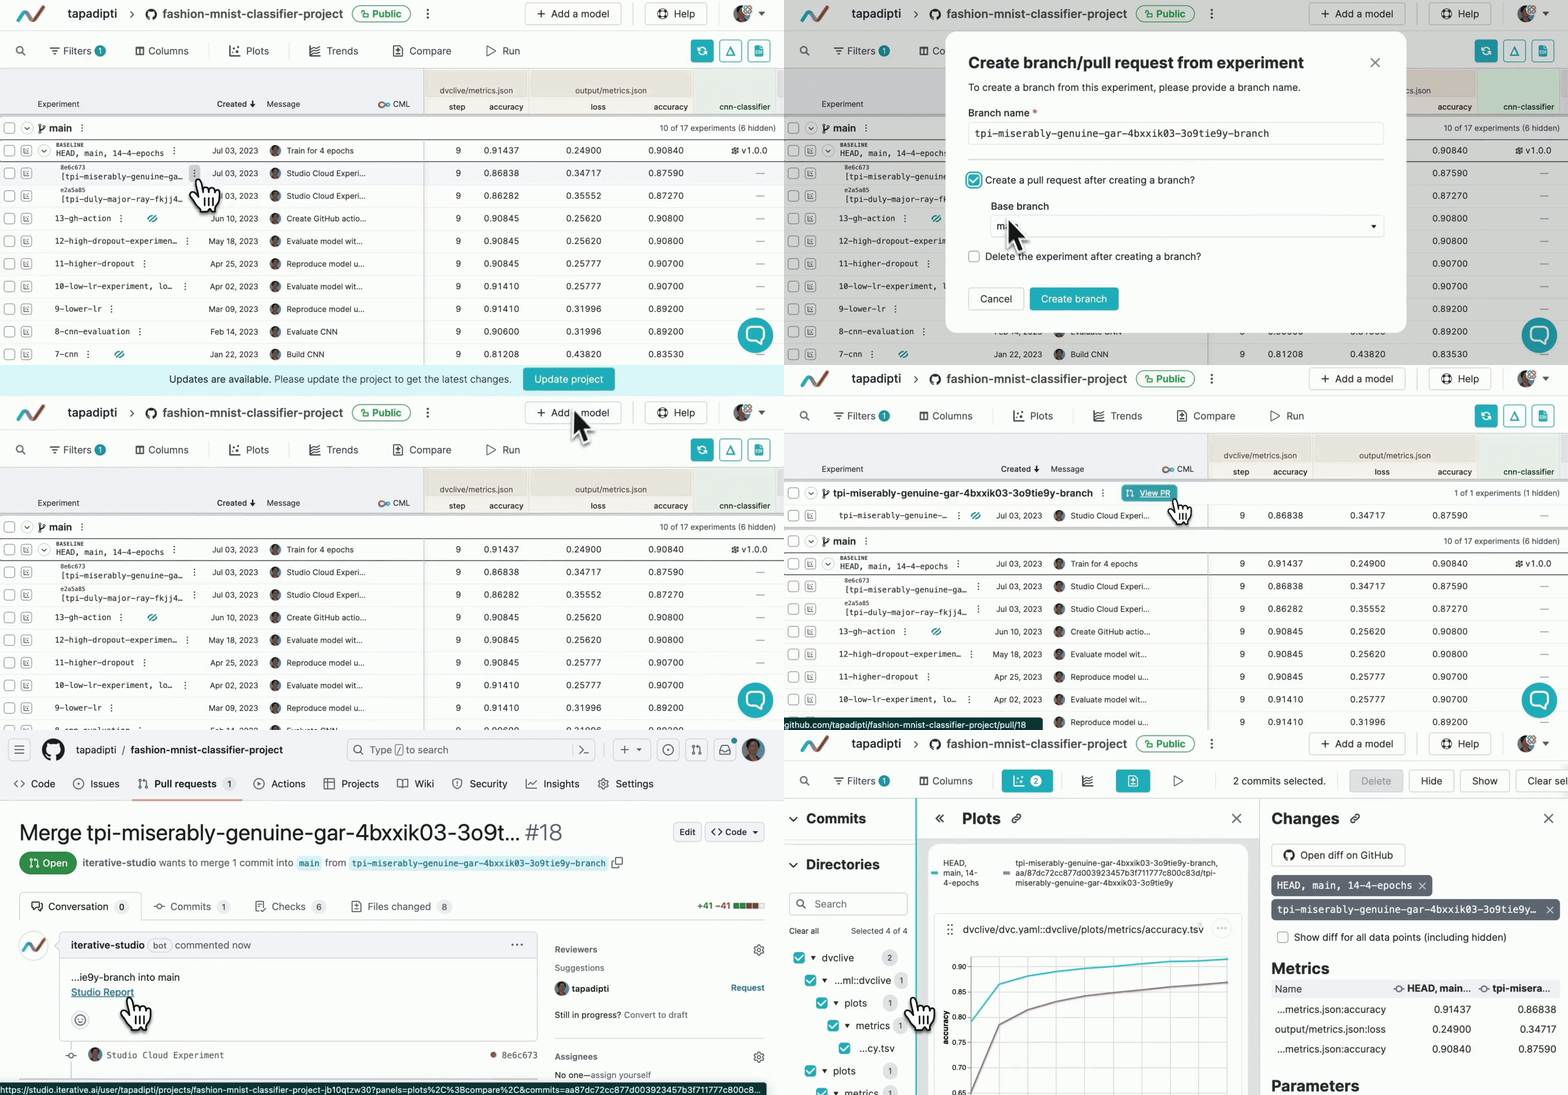
You can change your hyperparameters or select a different dataset and re-run your model training using Iterative Studio.
Iterative Studio uses your regular CI/CD setup (e.g. GitHub Actions) to run the experiments. This means that to enable experimentation from Iterative Studio, you need to integrate your Git repository with a CI/CD setup (e.g. GitHub Actions).
Then, on each Git commit, the CI/CD setup will get invoked. If this setup includes a model training process, it will be triggered, which means that your ML experiment will run automatically.
For more details on how to set up CI/CD pipelines for your ML project, refer to CML. You can use any cloud or Kubernetes for the model training process. CML also generates a report after the CI/CD setup executes.
Due to access restrictions, you cannot run experiments on the demo view (
example-get-started
) that is provided to you by default. Once you create views for your ML project repositories, you can follow the instructions given below to run experiments directly from Iterative Studio.
Watch this video for an overview of how you can run experiments from Iterative Studio, or read below for details.
To run experiments from Iterative Studio, first you need to determine the Git
commit (experiment) on which you want to iterate. Select the commit that you
want to use and click the Run
button. A form will let you specify all the
changes that you want to make to your experiment. On this form, there are 2
types of inputs that you can change:
example-get-started
project, you can change
the data.xml
file. Iterative Studio identifies all the files used in your
project, which means that if you select the
Show all input parameters (including hidden)
option, then you can also
change the hidden files such as the model.pkl
model file and the
scores.json
metrics file. You can also choose not to change any input data
files if you only wish to change the values of one or more hyperparameters.example-get-started
project, you can
change max_features
(the maximum number of features that the model uses),
ngrams
, etc. You can also choose not to change any hyperparameters if you
only wish to change one or more input data files.The default values of the input data files and hyperparameters in this form are extracted from your selected commit.
Once you have made all the required changes, enter your Git commit message and
description. Then, select the branch to commit to. You can commit to either the
base branch or a new branch. If you commit to a new branch, a Git pull request
will automatically be created from the new branch to the base branch. Now, click
on Commit changes
.
At this point, the new experiment appears in the view table. If you just committed to a new branch, then a new pull request will also have been created from the new branch to the base branch.
If your project is integrated with a CI/CD setup (e.g. GitHub Actions), the CI/CD setup will get invoked. If this setup includes a model training process, it will be triggered, which means that your ML experiment will run automatically. The model training can happen on any cloud or Kubernetes. For more details on how to set up CI/CD pipelines for your ML project, refer to CML. You can also create CML reports with metrics, plots or other details at the end of each experiment run.
Once the experiment completes, its metrics will be available in the view table.
You can then generate plots and trend charts for it, or compare it with the
other experiments. If a CML report has been defined in your CI/CD flow, you can
access the report by clicking on the CML report icon next to the Git commit
message in the view table. The CML Report
tooltip appears over the CML report
icon on mouse hover.